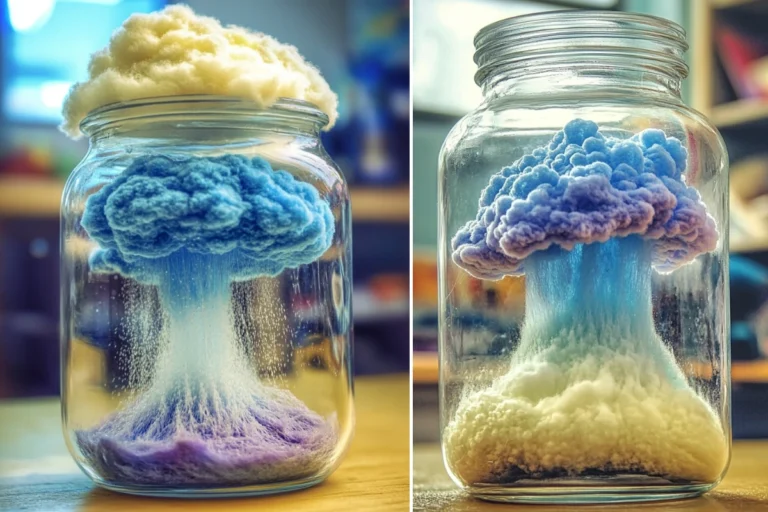
Magical Science at Home: How to Make a Rain Cloud in a Jar
Looking for a fun and educational indoor activity for kids? The Rain Cloud in a Jar experiment is a magical blend of science and creativity that brings weather to life. Using just a few simple household items, you can create a fascinating visual display that mimics real rain forming and falling from clouds. Perfect for curious minds and rainy afternoons, this experiment is a favorite among parents, teachers, and young scientists alike.
In this complete guide, we’ll walk you through the steps to create your own rain cloud in a jar, explain the science behind it, suggest creative variations, and offer tips to make it a valuable learning experience for children of all ages.
What Is a Rain Cloud in a Jar?
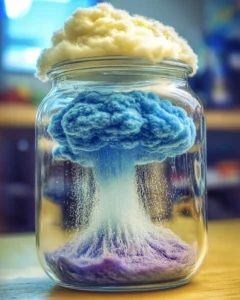
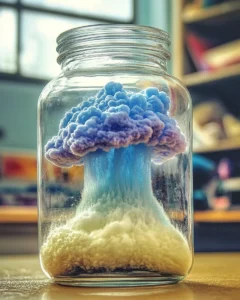
The Rain Cloud in a Jar experiment is a hands-on demonstration of how rain is formed in nature. It uses a clear jar of water to represent the sky, shaving cream to act as clouds, and colored water to simulate rain. As the colored water drips through the shaving cream and into the water, it visually shows how precipitation happens in the real world.
Key Features of This Activity:
-
Visual and sensory stimulation for younger children.
-
Scientific accuracy for educational reinforcement.
-
Engaging for a wide age range, from preschoolers to tweens.
-
Minimal mess and quick cleanup, making it parent-approved.
Whether you’re a homeschooling parent, classroom teacher, or just looking for an enriching weekend activity, this project fits right in.
Materials You’ll Need
Creating a rain cloud in a jar requires just a few everyday supplies. Here’s what you need:
Basic Supplies Checklist:
-
🟢 1 clear glass jar or cup (transparent to see the rain effect)
-
🔵 Water (enough to fill ¾ of the jar)
-
⚪ Shaving cream (classic foamy type, not gel)
-
🔴 Food coloring (blue is classic, but you can mix other colors too)
-
🟡 Small bowl or cup (for mixing food coloring with water)
-
🟠 Dropper, pipette, or spoon (to slowly add colored water)
These items are commonly found in most households, and if not, they are inexpensive and available at most supermarkets or dollar stores.
How to Make a Rain Cloud in a Jar: Step-by-Step Guide
This experiment is very easy to set up and quick to perform, making it ideal for short attention spans or busy schedules.
Step 1: Prepare Your “Sky”
-
Fill your glass jar about three-quarters full with clean, room-temperature water.
-
Leave enough space at the top for the shaving cream to sit without spilling over.
Step 2: Add the Shaving Cream Cloud
-
Shake the shaving cream can vigorously for a few seconds.
-
Spray a fluffy layer of shaving cream on top of the water.
-
The shaving cream should float and mimic the look of a cumulus cloud.
Tip: Don’t pile the cream too high—it can overflow when you add colored water.
Step 3: Mix the Colored Water
-
In a small cup or bowl, mix 10–15 drops of food coloring with 2 tablespoons of water.
-
You can create multiple bowls for different colors if you’d like a rainbow effect.
Step 4: Make It Rain!
-
Use a spoon, pipette, or dropper to gently drip the colored water onto the shaving cream.
-
At first, the colored water will pool on top, just like moisture in real clouds.
-
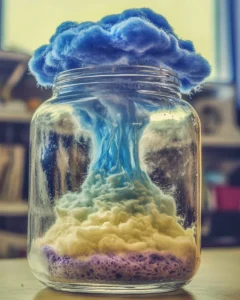
Eventually, the “cloud” becomes saturated, and colored streaks begin to fall through into the water below—just like rain falling from clouds.
Observation Point: Ask your child what they think will happen before the rain starts. Encourage predictions and reasoning!
The Science Behind the Magic
While this experiment is beautiful to watch, it’s also an excellent opportunity to teach scientific concepts. Here’s the breakdown of what’s happening and why:
Understanding the Water Cycle
The water cycle has three key stages:
-
Evaporation – Water turns into vapor and rises into the atmosphere.
-
Condensation – Water vapor cools and forms clouds (represented by shaving cream).
-
Precipitation – When the clouds get too heavy, water falls as rain (colored water dripping through the cream).
The Rain Cloud in a Jar experiment focuses on condensation and precipitation. The shaving cream holds the colored water until it’s too heavy, just like clouds do with real moisture.
Bonus Scientific Concepts
-
Gravity: It pulls the water droplets down through the shaving cream.
-
Density: Colored water is denser than shaving cream, so it eventually breaks through.
-
Color diffusion: The swirling patterns show how substances mix in liquids.
Why This Experiment Is Great for Kids
Not only is this activity fun, but it also encourages cognitive and sensory development. Here’s how:
Learning Benefits:
-
STEM Education: Teaches basic meteorology and physics.
-
Observation Skills: Kids notice changes, make predictions, and describe outcomes.
-
Creative Thinking: Children imagine scenarios and interpret visuals.
-
Motor Skills: Using droppers and pouring enhances coordination.
Social-Emotional Benefits:
-
Promotes patience while waiting for the rain effect.
-
Encourages discussion and curiosity.
-
Offers a shared learning experience between parents, teachers, and children.
Best Ages for This Experiment
This project works for a wide range of age groups. With a little guidance, even toddlers can enjoy the visual aspects.
Age Breakdown:
-
👶 Ages 3–5: Focus on sensory experience. Adults should handle all the setup.
-
🧒 Ages 6–8: Start understanding basic science concepts. Encourage questions.
-
👦 Ages 9–12: Dive deeper into the science. Let them experiment with variables (water temp, cloud size, etc.).
Safety Note: While all ingredients are non-toxic, adult supervision is recommended to avoid spills or messes.
Fun Variations and Extensions
Once you’ve mastered the basic version, try one of these creative twists to extend learning and excitement.
1. Rainbow Rain Cloud
-
Use red, yellow, blue, and green food coloring.
-
Drop different colors in separate spots to watch them mix and swirl.
2. Glow-in-the-Dark Cloud
-
Use tonic water (contains quinine) and a black light for a glow effect.
-
Especially fun for night science parties or sleepovers.
3. Hot vs. Cold Cloud
-
Try the experiment with warm water in one jar and cold in another.
-
Observe any changes in how the color spreads and drops.
4. Upside-Down Rain Cloud
-
Use a transparent lid or cling film under the jar and suspend it upside-down for a twist.
-
Observe how gravity still pulls the rain down in unusual patterns.
Educational Enhancements
Use this experiment as a springboard for more detailed learning activities. Great for homeschool lessons, science fairs, or rainy-day homeschooling.
Curriculum Connections:
-
Science: Connect with lessons on the water cycle, states of matter, and cloud types.
-
Art: Have children draw their observations or create rain cloud paintings.
-
Writing: Prompt kids to journal their findings or write a story about a magical jar of weather.
Classroom Integration:
-
Use as a science station activity.
-
Combine with a weather-themed book or video.
-
Have students record data in lab notebooks.
Frequently Asked Questions
Can I use gel shaving cream?
No. Gel shaving cream doesn’t float well and doesn’t replicate cloud texture. Stick with foam.
What if I don’t have food coloring?
You can use liquid watercolor, coffee, or tea for a similar effect, though color intensity may vary.
Can I reuse the same jar?
Yes! Just rinse it thoroughly between uses. The food coloring can stain plastic but usually washes out of glass.
How long does the experiment last?
The visual effect lasts about 5–10 minutes, depending on how much colored water you add. You can repeat it multiple times in one session.
Cleanup Tips
While this is a low-mess activity, a little preparation helps.
Smart Cleanup Practices:
-
Do the experiment on a tray or plastic tablecloth.
-
Have paper towels or wipes ready.
-
Use a sponge or cloth to quickly wipe down shaving cream residue.
-
Dispose of leftover water and shaving cream in the sink.
Final Thoughts: Why Every Kid Should Try This
The Rain Cloud in a Jar experiment is more than just a pretty activity—it’s a gateway to curiosity, wonder, and hands-on science. It’s ideal for children of all ages, requires minimal setup, and provides a powerful visual lesson about the weather we experience every day.
With endless ways to tweak and expand the experiment, it can be revisited many times without losing its charm. Whether you’re introducing a preschooler to their first science project or enriching an elementary weather unit, this magical experiment will captivate, educate, and inspire.
Quick Summary
Activity Name: Rain Cloud in a Jar
Skill Level: Easy
Prep Time: 5 minutes
Experiment Time: 10 minutes
Age Range: 3+ (with supervision)
Educational Focus: Water cycle, weather, observation, science vocabulary
Best Used For: Home learning, classroom demonstrations, sensory play, science fairs
Bring the weather indoors today—and watch your little learners light up with amazement!
Let the rain fall… right from your kitchen table. 🌧️✨
