Introduction to the Glowing Rain Cloud Activity
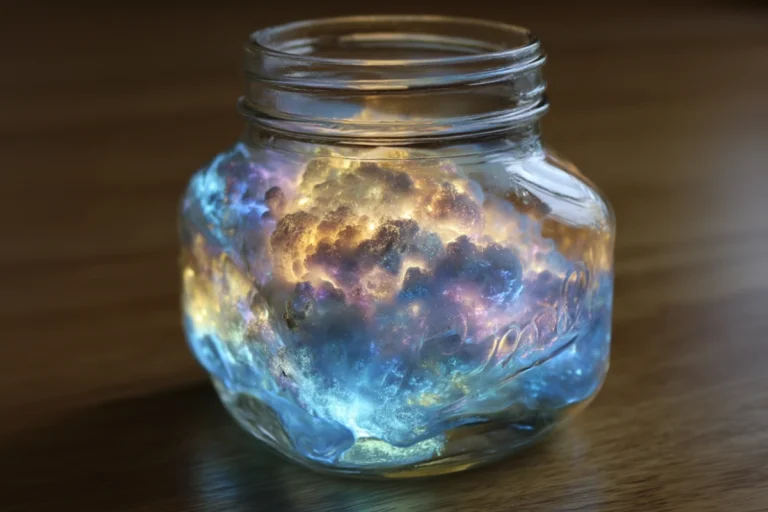
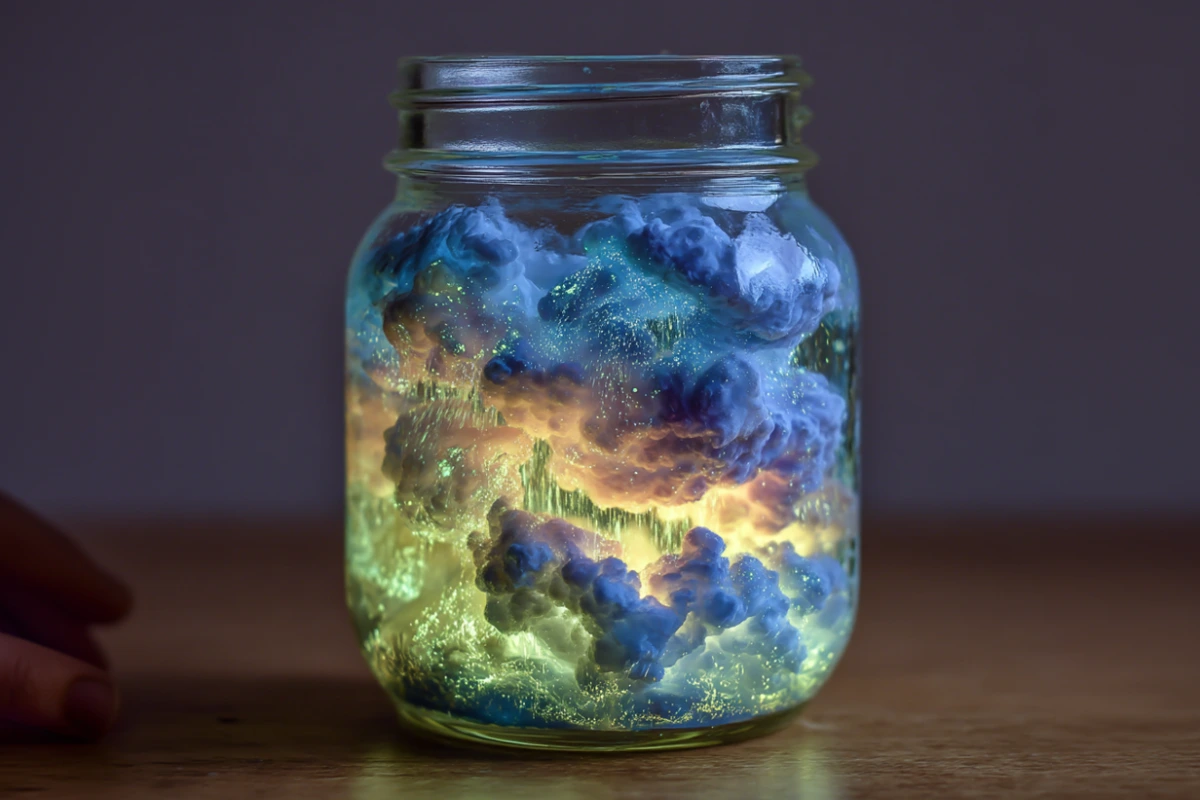
Who said science had to be boring? With just a few household supplies and a little bit of glow-in-the-dark magic, you can bring weather patterns to life right on your kitchen table! This Glow-in-the-Dark Rain Cloud in a Jar is not only a visual treat—it’s an engaging way to introduce science concepts like density, gravity, and precipitation to kids and curious adults alike.
Why Kids and Adults Love This Experiment
🧪 Science Meets Art
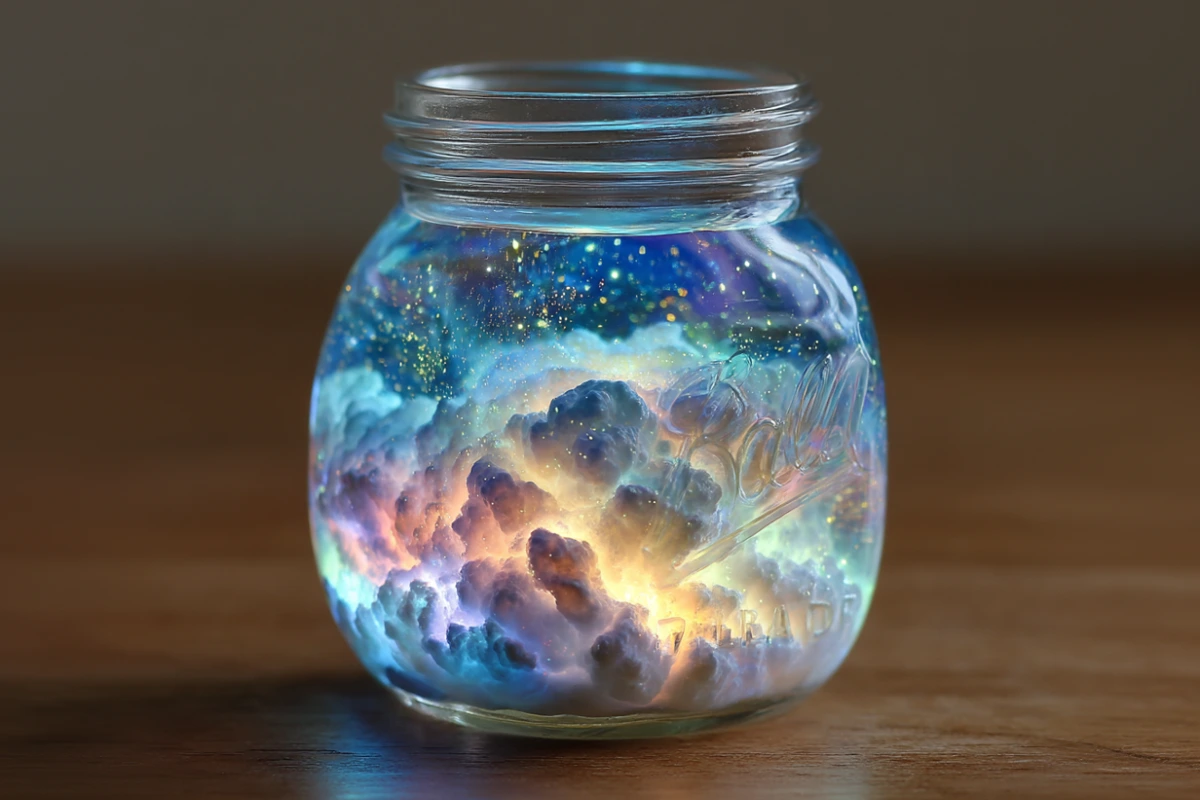
This experiment is a showstopper—part science project, part glowing art installation. When those neon droplets fall through the cloud and glow under a blacklight, it’s pure wonder.
🌧️ A Fun Way to Learn Weather Concepts
Cloud formation, rain cycles, and the magic of light-reactive chemicals—all wrapped into a single fun project. It’s hands-on learning at its best!
Essential Supplies You’ll Need
🛒 Where to Buy Glow-in-the-Dark Coloring
You can find glow-in-the-dark food coloring or neon liquid watercolor online, at craft stores, or in the party aisle. Make sure it’s safe for kids and non-toxic.
🥄 Choosing the Right Jar and Tools
A large mason jar or any clear glass container will work. You’ll also need:
-
Shaving cream (foamy, not gel)
-
Warm water
-
Small cups for mixing
-
Droppers or teaspoons
-
UV flashlight or blacklight for glowing fun!
Step-by-Step Instructions
🔹 Step 1: Fill the Jar with Warm Water
Pour warm water into your glass jar until it’s about 3/4 full. This will be your “sky.”
🔹 Step 2: Create the Puffy Cloud with Shaving Cream
Shake up the can of shaving cream and create a thick layer on top of the water. This fluffy topping acts like a cloud, holding back the rain—until it can’t anymore.
🔹 Step 3: Mix Your Glowing Colors
In separate bowls or cups, combine glow-in-the-dark coloring with a little water. You’re making neon rain now, so the more colors, the better!
🔹 Step 4: Make It Rain Color!
Using a dropper or spoon, drop the colorful liquid over the shaving cream. Slowly, the “rain” builds up until it finally breaks through, cascading down like glowing rain.
🔹 Step 5: Let It Glow! Activating with UV Light
Turn off the lights, shine a blacklight or UV flashlight on your jar, and watch the magic happen. The glowing colors falling through the cloud look like a scene straight out of a sci-fi movie.
How It Works: The Science Behind the Magic
🌊 The Role of Density in Water and Oil
The color droplets are denser than the shaving cream and the water, so they sink and fall—just like rain falls from clouds when they get heavy.
☁️ How Shaving Cream Acts Like a Real Cloud
In this experiment, shaving cream mimics clouds. It holds water (your colored droplets) until they become too heavy to stay suspended.
💧 Why the Colors Fall Like Rain
Gravity pulls the colored water through the shaving cream and into the jar, simulating a mini weather system right in front of your eyes!
Safety First: Tips for a Mess-Free and Safe Activity
-
Always supervise younger children.
-
Cover surfaces with paper towels or plastic tablecloths.
-
Use non-toxic, child-safe coloring and shaving cream.
Fun Variations to Try Next Time
Galaxy-Inspired Glow Jar
Use black food coloring and mix in glitter for a swirling galaxy effect.
Storm Cloud Simulation
Add sound effects or record your glow rainstorm with time-lapse video for extra drama!
The Best Lighting Setup for Maximum Glow
For the full glow-in-the-dark wow-factor, wait until dark and use a strong UV flashlight. Position the light from the side or below to make the colors pop!
Benefits of Hands-On Science for Children
Critical Thinking Boost
Kids ask questions. And with experiments like this, they get answers in real time—sparking logical thinking and observation.
Igniting Curiosity and Creativity
When kids see science literally glowing, it inspires them to ask “why?”—and that’s where real learning begins.
DIY vs. Store-Bought Science Kits: Pros and Cons
| DIY | Store-Bought |
|---|---|
| Budget-friendly | Convenient |
| Customizable | Pre-packaged instructions |
| More engaging | Less setup time |
DIY wins when you want a personalized, hands-on experience!
Perfect Occasions to Try This Experiment
Rainy Day Fun
Stuck indoors? Bring the rain indoors—in a jar!
Science Fair Project
Add labels and observations, and you’ve got a unique, eye-catching display.
Glow-in-the-Dark Birthday Party
Set up a “science zone” and let kids create their own glowing rain clouds!

Clean-Up and Storage Tips
-
Toss used shaving cream in the trash, not the sink!
-
Wash jars with soap and warm water.
-
Store unused color mixtures in sealed containers.
FAQs About Glow-in-the-Dark Rain Cloud Jars
1. Can I use regular food coloring instead of glow-in-the-dark?
Yes! It won’t glow, but the colors will still create a cool rain effect.
2. Do I need a blacklight?
For glow-in-the-dark effects, yes. Regular neon coloring will also look cool under normal light.
3. Is it safe for toddlers?
With supervision and non-toxic materials, it’s very toddler-friendly.
4. Can I reuse the jar?
Absolutely! Just rinse it well between uses.
5. What makes the colors glow?
Glow pigments in the food coloring or watercolors are activated by UV light.
Final Thoughts: Make Learning Magical
The Glow-in-the-Dark Rain Cloud in a Jar is more than just a pretty experiment—it’s a gateway to curiosity, creativity, and hands-on learning. Whether you’re doing it for fun or turning it into a science project, the experience will stick with your child (and you!) for a long time. So go ahead—let it rain!
Print
Glow-in-the-Dark Rain Cloud in a Jar: A Magical Science Experiment
- Total Time: 10 minutes
- Yield: 1 experiment 1x
Description
A glowing rain cloud in a jar experiment – fun, educational, and perfect for kids to explore weather and color mixing!
Ingredients
1 large clear glass jar (mason jar recommended)
Warm water (to fill ¾ of the jar)
White foaming shaving cream (generous amount)
Glow-in-the-dark or neon food coloring (a few drops per color)
Small bowls or cups (2–3 for mixing colors)
Pipettes, droppers, or teaspoons (1 per color)
Instructions
Fill the jar ¾ with warm water. Add shaving cream on top to create a fluffy cloud. In small cups, mix glow food coloring with water. Slowly drop colored mixtures onto the “cloud” using a dropper. Watch the glowing rain drip into the water. For full effect, turn off the lights and shine a blacklight.
Notes
Best viewed in a dark room with a blacklight. Use towels to catch spills. Experiment with different color combinations for extra fun. Kid-safe and easy to clean up!
- Prep Time: 5 minutes
- Cook Time: 0 minutes
- Category: Kids Science Activity
- Method: DIY Experiment
- Cuisine: N/A
Nutrition
- Serving Size: 1 jar activity
- Calories: 0
- Sugar: 0g
- Sodium: 0mg
- Fat: 0g
- Saturated Fat: 0g
- Unsaturated Fat: 0g
- Trans Fat: 0g
- Carbohydrates: 0g
- Fiber: 0g
- Protein: 0g
- Cholesterol: 0mg
Keywords: glow in the dark, rain cloud in a jar, kids science experiment, glowing jar activity, STEM for kids
