Introduction
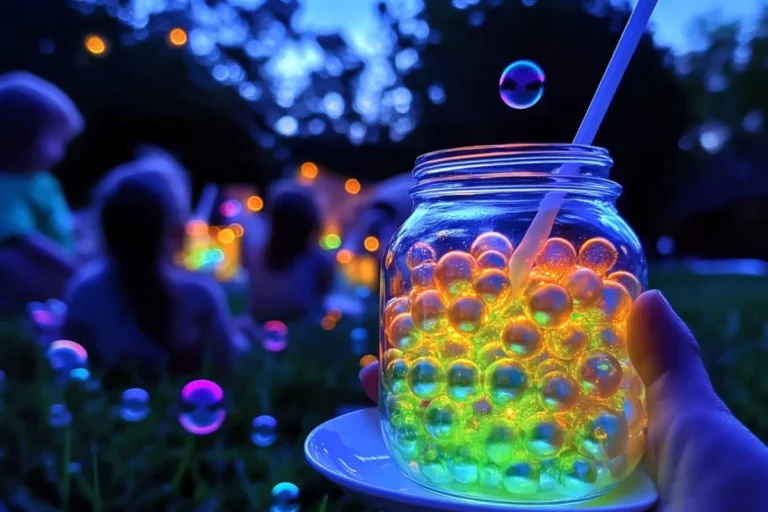
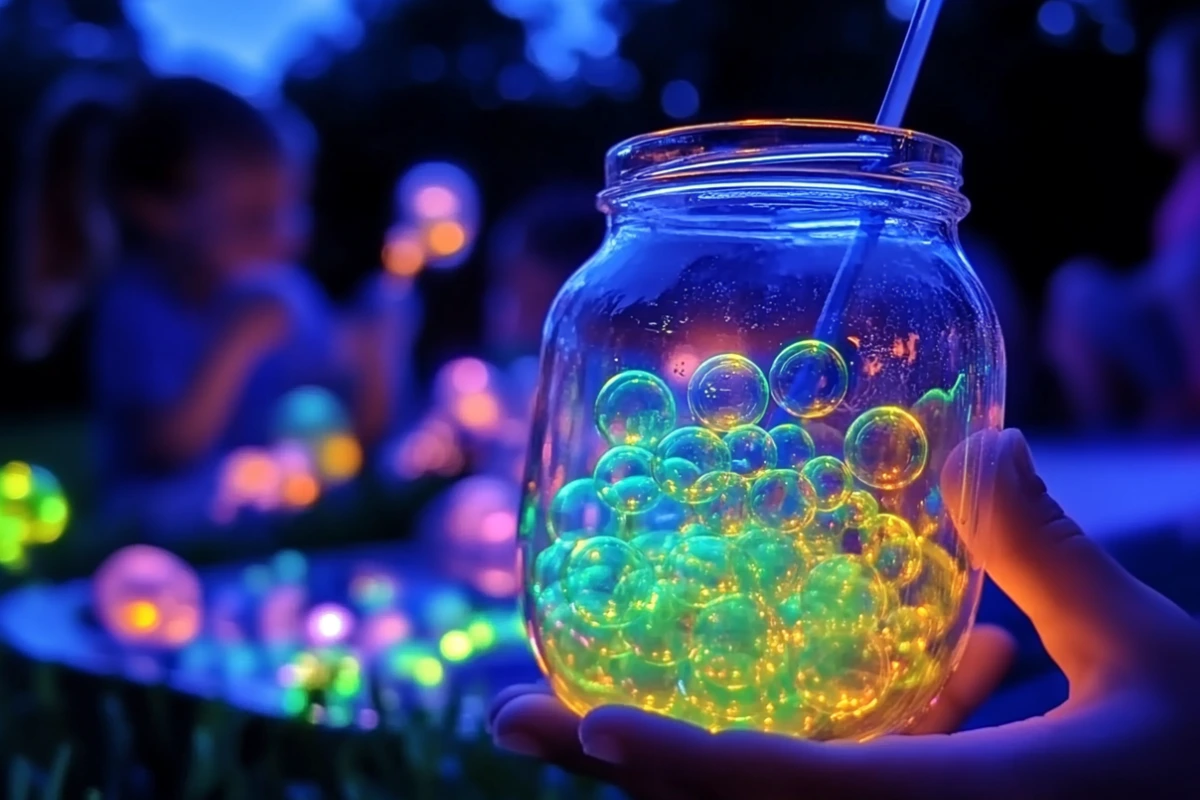
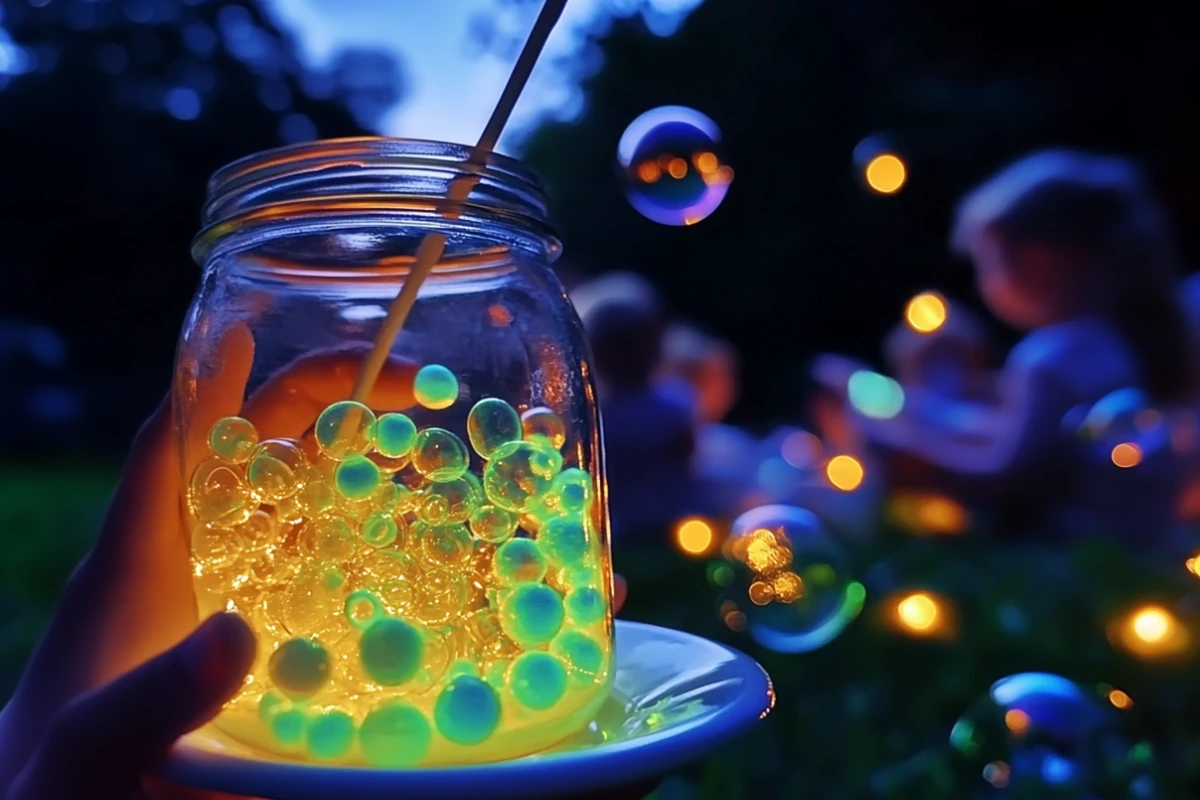
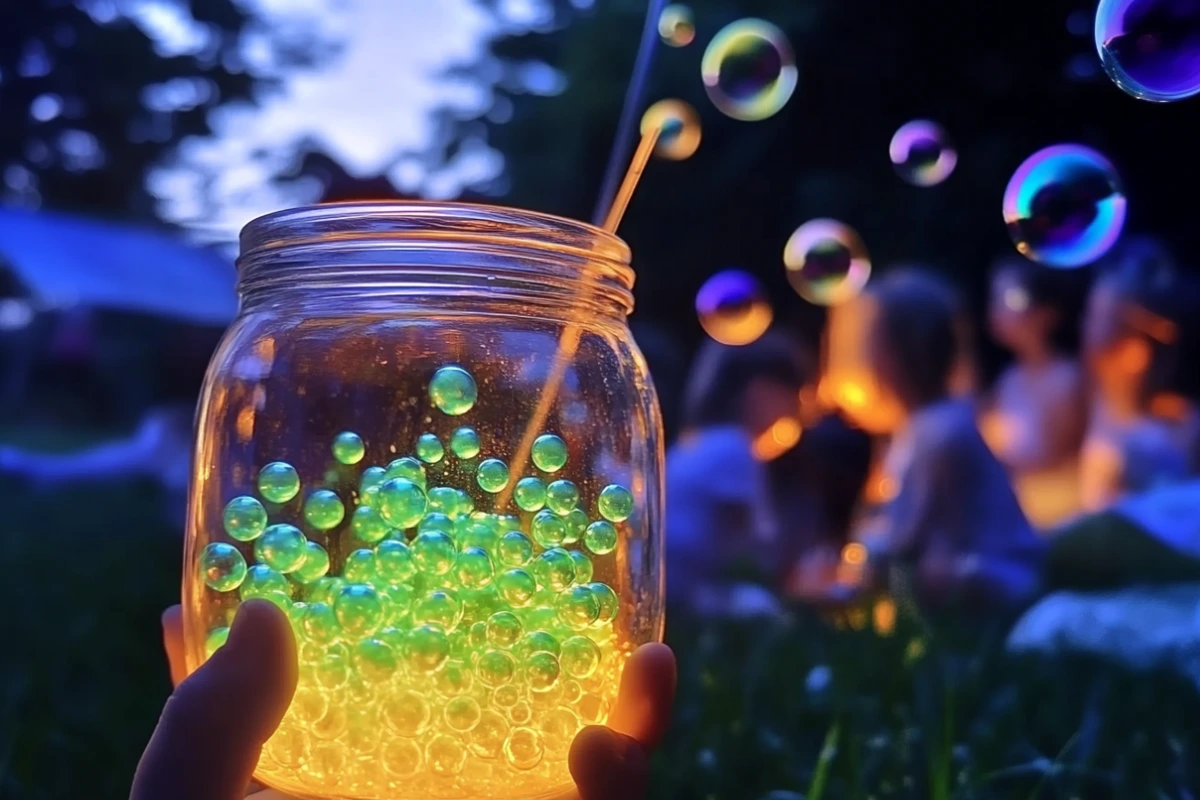
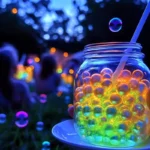
Imagine a warm summer night, laughter filling the air, and glowing bubbles floating around, adding a magical touch to your evening. Glow-in-the-dark bubbles are not just a delightful spectacle; they’re a fantastic way to combine fun and science, making any nighttime gathering unforgettable. This guide will walk you through creating your own glowing bubbles safely and easily.
Understanding the Glow
The Science Behind the Glow
Glow-in-the-dark bubbles work on the principle of fluorescence. Certain substances absorb ultraviolet (UV) light and re-emit it as visible light. When you use a highlighter’s fluorescent ink in your bubble solution and expose it to a UV blacklight, the bubbles glow brilliantly in the dark.
Why Use a Blacklight?
A blacklight emits UV light, which is invisible to the naked eye but causes fluorescent materials to glow. Without a blacklight, your glow-in-the-dark bubbles won’t achieve the desired luminous effect.
Materials Needed
To create your glowing bubbles, gather the following items:
-
Bubble Solution: You can use store-bought or homemade bubble solution.
-
Highlighter: Yellow or green highlighters work best due to their strong fluorescence.
-
Warm Water: Helps in extracting the ink from the highlighter.
-
Dish Soap: Optional, for stronger bubbles.
-
UV Blacklight: Essential for making the bubbles glow.
Homemade Bubble Solution Recipe
If you prefer to make your own bubble solution, here’s a simple recipe:
-
1 cup warm water
-
2 tablespoons dish soap
-
1 tablespoon corn syrup or sugar
Mix these ingredients gently to avoid creating foam. The corn syrup or sugar adds elasticity, making the bubbles more durable.
Step-by-Step Guide to Making Glow-in-the-Dark Bubbles
Step 1: Extract the Highlighter Ink
-
Safety First: Wear gloves to prevent staining your hands.
-
Open the Highlighter: Carefully cut open the highlighter using scissors.
-
Remove the Ink Tube: Take out the felt ink tube from inside the highlighter.
-
Soak the Ink Tube: Place the ink tube in 1/4 cup of warm water.
-
Wait: Let it sit for 10–15 minutes until the water turns bright neon. This is your glowing dye.
Step 2: Prepare the Glow Bubble Mix
-
Combine Solutions: Mix your glowing highlighter water with 1 cup of bubble solution.
-
Stir Gently: Avoid shaking to prevent foam formation.
-
Optional Add-In: Add a small squirt of dish soap for stronger bubbles.
Step 3: Bubble Time!
-
Choose Your Wand: Use a bubble wand, straw, or DIY pipe cleaner wand.
-
Find the Right Spot: Go to a dark room or outside at night.
-
Illuminate: Shine a blacklight on the bubbles.
-
Enjoy: Watch them glow and float with an ethereal light.
Tips for the Best Glowing Bubbles
-
Use Fresh Highlighters: Older highlighters may not produce a strong glow.
-
Test Your Highlighter: Not all colors fluoresce equally; yellow and green are typically the brightest.
-
Avoid Overmixing: Stir gently to maintain bubble integrity.
-
Use a Quality Blacklight: A strong UV blacklight enhances the glowing effect.
Safety Precautions
-
Non-Toxic Materials: Ensure all materials used are non-toxic.
-
Supervise Children: Always supervise children during the activity.
-
Avoid Ingestion: Do not allow children to ingest the bubble solution.
-
Clean Up: Wipe any spills promptly to prevent staining.
Creative Uses for Glow-in-the-Dark Bubbles
-
Nighttime Parties: Add a magical touch to your gatherings.
-
Birthday Celebrations: Make your child’s party unforgettable.
-
Science Experiments: Teach kids about fluorescence in a fun way.
-
Photography: Capture stunning photos with glowing bubbles.
Conclusion
Creating glow-in-the-dark bubbles is a simple, safe, and enchanting activity that brings joy to both kids and adults. With just a few household items and a bit of creativity, you can transform any evening into a luminous adventure. So, gather your materials, follow the steps, and let the glowing fun begin!
FAQs
1. Can I use any color highlighter for this activity?
Yellow and green highlighters are recommended as they provide the brightest glow under a blacklight.
2. Is it safe for children to handle the highlighter ink?
While highlighter ink is generally non-toxic, it’s best to supervise children and ensure they don’t ingest the solution.
3. Can I store the glow bubble solution for later use?
Yes, store the solution in a sealed container. Shake gently before use as the ink may settle.
4. Do I need a blacklight for the bubbles to glow?
Yes, a blacklight is essential to activate the fluorescence in the highlighter ink.
5. Can I use glow sticks instead of highlighters?
It’s not recommended. Glow sticks contain chemicals that can be harmful if mishandled.
How to Make Glow-in-the-Dark Bubbles: Fun DIY Recipe for Nighttime Play
- Total Time: 15 minutes
- Yield: 1–2 cups bubble solution 1x
Description
Make glowing bubbles with a highlighter and bubble mix—perfect for nighttime parties, safe, fun, and easy to create!
Ingredients
1 cup bubble solution (store-bought or homemade)
1 highlighter (yellow or green)
1/4 cup warm water
Optional: small squirt of dish soap
UV blacklight
(Homemade bubble mix: 1 cup warm water, 2 tbsp dish soap, 1 tbsp corn syrup or sugar)
Instructions
-
Extract the ink from a highlighter and soak in warm water to make glowing dye.
-
Mix glowing dye with bubble solution and stir gently.
-
Blow bubbles using a wand and shine UV blacklight in a dark space to see them glow.
Notes
Use gloves when handling the highlighter. Always supervise kids during the activity. Bubbles glow only under blacklight.
- Prep Time: 15 minutes
- Cook Time: 0 minutes
- Category: Kids Activity, DIY Fun
- Method: Mixing
- Cuisine: Not Applicable
Nutrition
- Serving Size: About 2 tablespoons
- Calories: 10 (approximate for bubble mix, not for consumption)
- Sugar: 1g
- Sodium: 5mg
- Fat: 0g
- Saturated Fat: 0g
- Unsaturated Fat: 0g
- Trans Fat: 0g
- Carbohydrates: 2g
- Fiber: 0g
- Protein: 0g
- Cholesterol: 0mg
Keywords: glow in the dark bubbles, DIY bubble recipe, kids party activity, nighttime bubbles, blacklight bubbles