Introduction
Ever wanted to make your own bouncy balls at home? It’s way easier (and way more fun) than you might think. Making homemade rainbow bouncy balls is not just a cool science experiment—it’s a blast of color, creativity, and bounce all rolled into one! Whether you’re a parent looking for a fun rainy-day activity, a teacher wanting to introduce STEM concepts, or just someone who enjoys DIY projects, this is the perfect project for you.
What Are Homemade Bouncy Balls?
Homemade bouncy balls are squishy, rubbery balls made using basic household ingredients. They mimic the bounce and look of store-bought ones but are way more customizable. The best part? You control the colors, the size, the sparkle—everything!
Why Make Them at Home?
Because store-bought can’t compete with personalized rainbow swirl magic! Plus, homemade ones:
-
Are cheaper
-
Offer a cool science lesson
-
Let you bond with kids or friends
-
Look absolutely adorable in all those rainbow hues
The Science Behind Bouncy Balls
What Makes Bouncy Balls Bounce?
It’s all about elasticity. When you throw a ball, it deforms on impact, absorbs energy, and then quickly springs back into shape—launching itself off the surface again. The more elastic, the better the bounce.
Polymers in Action
The magic ingredient in our DIY recipe is polyvinyl alcohol (found in glue). When mixed with borax, a chemical reaction happens, forming polymers—long, stretchy chains that give the ball its bounce.
Cross-Linking and Elasticity Explained
Think of polymers like spaghetti. Alone, they slide around. But add borax and boom—cross-links form, like rubber bands between the noodles, turning it all into stretchy goo that firms into a ball.
Materials You’ll Need
Safe, Simple, and Easy-to-Find Ingredients
-
1 tablespoon of white school glue or glitter glue
-
½ teaspoon of borax powder
-
2 tablespoons of warm water
-
Food coloring or liquid watercolor
-
Small cups or bowls
-
Craft sticks or spoons
-
Disposable gloves (optional)
-
Paper towels
Optional Add-ins for Extra Fun
-
Glitter
-
Glow powder
-
Confetti sprinkles
-
Essential oils for scent
Step-by-Step Instructions
Step 1 – Mixing the Borax Solution
In a small cup, mix ½ teaspoon of borax with 2 tablespoons of warm water. Stir until the powder dissolves completely.
Step 2 – Creating the Ball Mixture
In a separate cup, pour 1 tablespoon of glue. Add a few drops of food coloring (or glitter glue for sparkle). Stir it well.
Step 3 – Shaping the Ball
Pour the glue mixture into the borax solution. Let it sit for 15 seconds—don’t stir yet! Then stir gently. It’ll start clumping. Once it does, remove it and start rolling it between your palms to shape it into a ball.
Step 4 – Let It Set and Bounce
Keep rolling for about 1–2 minutes until it’s no longer sticky. Set it on a paper towel for 5–10 minutes. Then… bounce away!
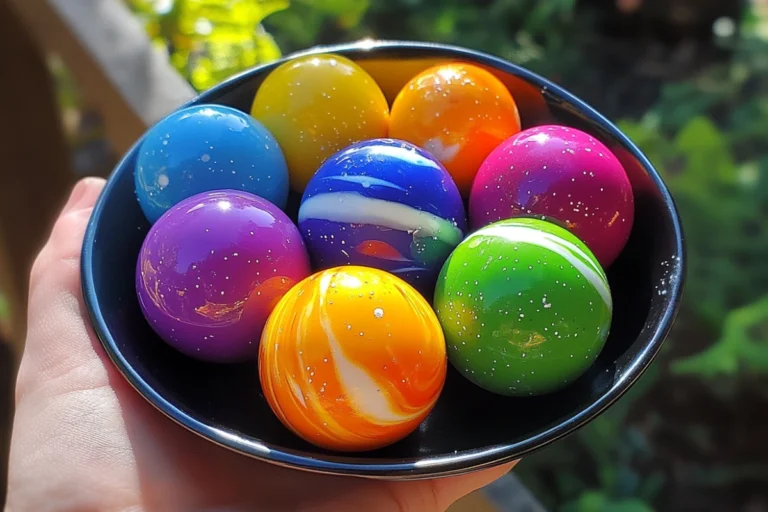
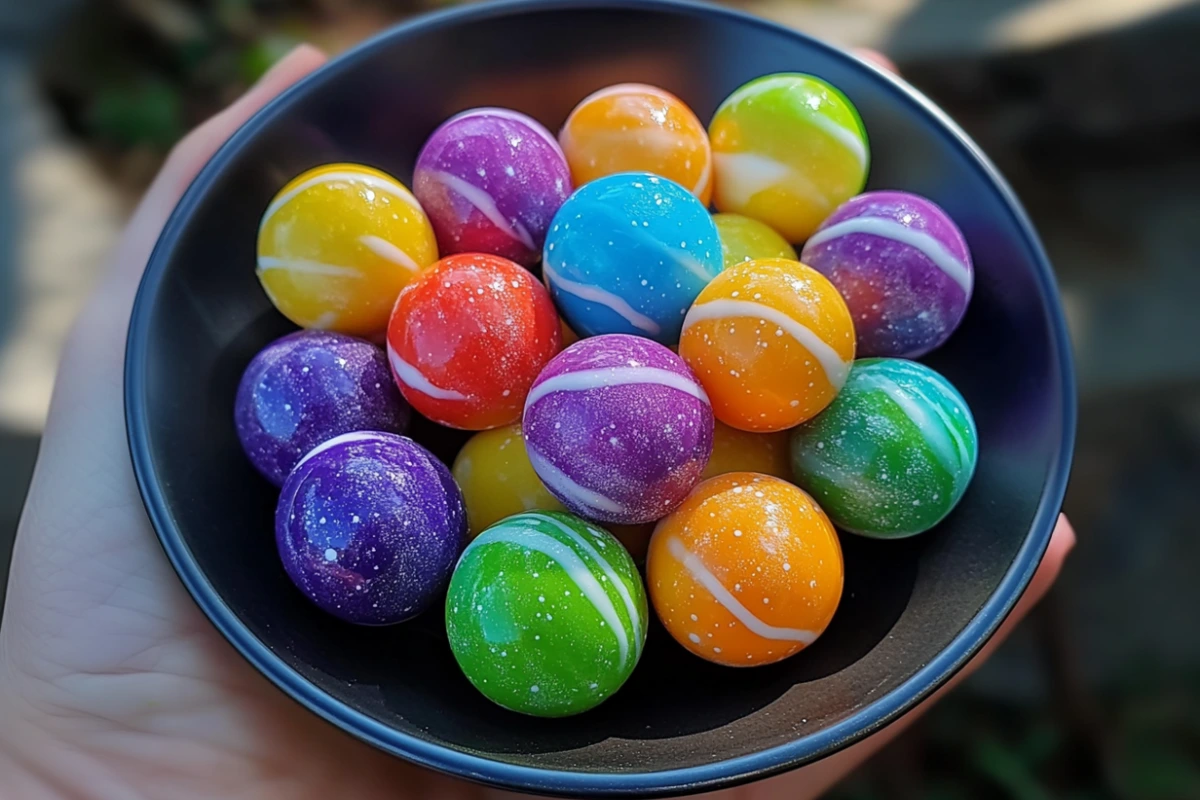
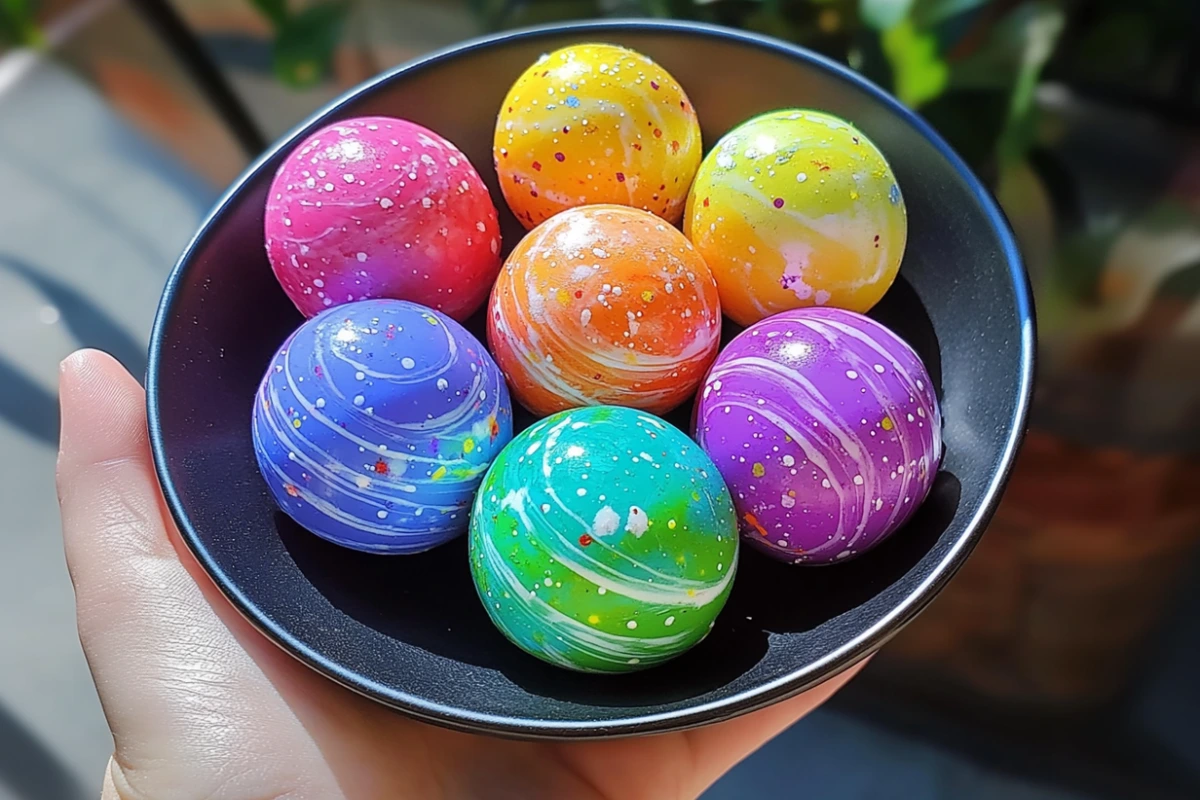
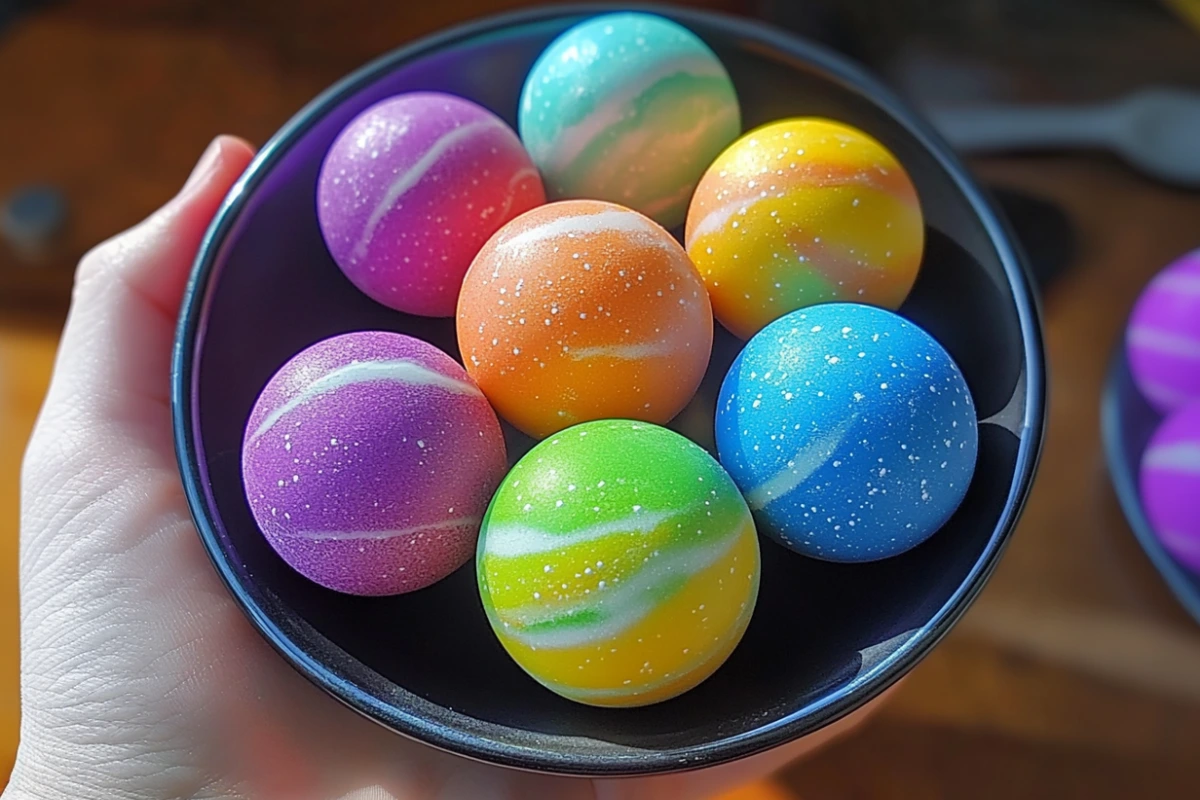
Making Them Rainbow-Themed
Using Multiple Colors
You can layer colored glue mixtures one after another. Just don’t mix them too much—unless you’re going for a swirl look.
Layering Colors for the Rainbow Effect
Start with red, add orange, yellow, green, blue, and finish with purple. Pinch off small bits of each color, then mash and mold them together gently.
Tips for Swirling vs. Striped Balls
-
For swirls: Twist the colors before shaping.
-
For stripes: Layer flat pieces before rolling.
Tips for the Best Bouncy Balls
Avoiding Common Mistakes
-
Don’t use too much borax—it makes the ball crumbly.
-
Too much water? Your ball may turn into slime. Add more glue.
How to Make Them Extra Springy
Use more glue and stir less. Less stirring = less stiffness = more bounce.
Storage Tips to Keep Them Fresh
Keep in an airtight container or zip-lock bag. Use within a week for best bounce.
Fun Variations to Try
Glow-in-the-Dark Bouncy Balls
Use glow glue or add glow powder. Charge under light, then bounce in the dark!
Glitter Balls
Mix fine glitter into the glue for a sparkly finish.
Themed Balls (Galaxy, Unicorn, etc.)
Use black, blue, and silver for galaxy. Go pastel for unicorn. Add tiny stars or sprinkles for extra flair.
Is It Safe for Kids?
Supervision Tips
Always have an adult around—especially when handling borax. No licking, tasting, or rubbing eyes.
Non-Toxic Ingredients Explained
White school glue is non-toxic. Borax can irritate skin if handled too long, so gloves are optional but helpful.
Educational Value
Teaching STEM with Bouncy Balls
This project introduces chemistry (reactions), physics (bounce), and creativity (color mixing). Total win.
Learning While Playing
Kids get hands-on experience while making something fun. Who knew learning could bounce?
Cleanup and Disposal
Easy Cleaning Tips
Warm water and a sponge will clean up any mess. Dried bits? Just peel them off surfaces.
How to Properly Dispose of Leftovers
Toss in the trash. Don’t wash glue or borax down the sink—it can clog pipes and isn’t sewer-friendly.
DIY vs. Store-Bought
Cost Comparison
Homemade = pennies per ball. Store-bought? A few bucks each. Do the math.
Quality and Customization
You get to make them your way. Want a glitter galaxy bouncy ball? No problem. Good luck finding that in stores.
Fun Ways to Use Your Bouncy Balls
Indoor Bouncing Games
Set up cups or targets and see who can bounce theirs in. DIY carnival, anyone?
Party Favors
Wrap them in mini plastic bags with tags. Kids will love them!
Sensory Play
Great for sensory bins or just squishing. Helps with fine motor skills, too.
Final Thoughts
Making homemade rainbow bouncy balls is like mixing science with art. It’s easy, cheap, fun, and something you can do over and over again. Whether it’s for a classroom project, a birthday party, or a rainy Saturday afternoon, this DIY craft brings a lot of bounce for your buck. Plus, you get to show off your rainbow creations like a proud mad scientist. So roll up those sleeves and get bouncing!
FAQs
1. How long do homemade bouncy balls last?
About a week if stored properly. They’ll start to harden or flatten after that.
2. Can I use food coloring instead of glitter glue?
Absolutely! Food coloring works great and mixes easily with white glue.
3. Do bouncy balls work on all surfaces?
They bounce best on hard, smooth surfaces like tile or wood—not so much on carpet.
4. What age group is this activity best for?
Ideal for ages 6+, with adult supervision. Younger kids may need more hands-on help.
5. Can I make them without borax?
Yes, you can use cornstarch or contact lens solution as alternatives, but the bounce might differ.
Print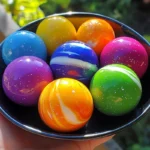
How to Make Homemade Rainbow Bouncy Balls – Fun DIY Science for Kids
- Total Time: 10 minutes
- Yield: 6 small bouncy balls 1x
Description
A fun and colorful science experiment—these homemade rainbow bouncy balls are easy to make, safe, and entertaining for kids of all ages!
Ingredients
tablespoon white glue (clear or regular)
½ teaspoon borax powder
2 tablespoons warm water1 tablespoon cornstarch
Food coloring (variety of rainbow colors)
Disposable cups (1 for each color)
Spoons or craft sticks for mixing
Gloves (optional for mess-free handling)
Instructions
-
In each cup, mix ½ tsp borax with 2 tbsp warm water until dissolved.
-
Add 1 tbsp glue, food coloring, and 1 tbsp cornstarch to the solution.
-
Stir quickly until it thickens and forms a gooey ball.
-
Knead the mixture with your hands to shape into a bouncy ball.
-
Repeat for each color to create a rainbow set!
Notes
-
Use gloves to avoid staining hands with food coloring.
-
Store bouncy balls in airtight bags to keep them from drying out.
-
For best results, use clear glue for vibrant colors.
-
Not edible—supervise younger kids during the activity.
-
Mix and swirl colors before kneading for a marbled effect!
- Prep Time: 5 minutes
- Cook Time: 5 minutes
- Category: Kids Activities, DIY Crafts
- Method: No-bake, Mixing
- Cuisine: N/A
Nutrition
- Serving Size: 1 ball
- Calories: 0g
- Sugar: 0g
- Sodium: 0g
- Fat: 0g
- Saturated Fat: 0g
- Unsaturated Fat: 0g
- Trans Fat: 0g
- Carbohydrates: 0g
- Fiber: 0g
- Protein: 0g
- Cholesterol: 0mg
Keywords: DIY bouncy balls, homemade rainbow bouncy balls, kids craft, science fun, bouncy ball recipe, rainbow toys, DIY rubber balls